Preparing artwork for custom merch: send what you have, or get precise
Two honest paths from artwork to production: send a rough file and get help with what won't print, or take control of vector files, resolution, cut lines and colour yourself — and how to know which path you're on.
Alex, founder · Written from first-hand experience · Stage: Preparing artwork · 2 Sept 2026 · Updated 2 Sept 2026
Buyers arrive at merch production in two states, and almost every artwork problem comes from treating one like the other. Either you have a design and no production vocabulary — or you know exactly what a cut line is and want control. Both are fine. Production paths should work for both.
The short answer: send what you have. A rough file is enough to start a quote. Anything in your artwork that won’t print well gets flagged before you pay for anything, and settled at the confirmation step your order agrees on — often a physical sample, sometimes a proof or run photos. The rest of this page is for people who want to go deeper than that.
The simple path — for a PNG and an idea
You don’t need to learn production terminology before making an enquiry. The minimum that starts a real conversation:
- Your file, in any state. AI, PSD, PDF, PNG or SVG. A screenshot-quality image can be quoted; it just can’t be produced yet, and that difference is ours to explain, not yours to guess.
- Rough quantity. “200, maybe 300” is a real answer.
- Where it’s going. Destination changes freight options, which changes the quote.
That’s it. What happens next: the file gets read, anything that won’t print (resolution too low for the size, text too fine, colours the process can’t reach) comes back flagged before you pay for anything, and the printed result is settled on an agreed confirmation — physical sample, proof or run photos — not on a screen.
One honest boundary: “send what you have” means we tell you what needs clarifying — it doesn’t mean free redesign. If you want artwork created or substantially redrawn for you, ask; what’s possible is confirmed with your quote like any other spec.
The advanced path — for production control
If you want to control the outcome yourself, these are the four decisions that decide most of the result, each covered in depth in its own guide:
| Decision | The one-line version | Full guide |
|---|---|---|
| File type & resolution | Vector for text and flat shapes; raster at 300 PPI at final production size | Vector vs raster artwork |
| Colour | Screens are RGB, print is CMYK; neon and saturated colours shift most — settle it on a sample | RGB vs CMYK |
| Cut line, bleed, safe area | Concepts universal, numbers vendor-specific; your spec sheet confirms the figures | Cut lines, bleed and safe area |
| White ink on clear | Colour on clear acrylic needs a white underbase where it must be opaque | White ink on clear acrylic |
The same split applies inside each guide: general print principles (300 PPI, why CMYK differs — true everywhere) are kept separate from OFFPRESS-specific numbers (bleed figures, minimum line weight), which are confirmed on your written spec sheet rather than published as constants we’d have to walk back.
What to send a supplier — the one-glance checklist
Whichever path you’re on, this is the information that makes any quote real:
- Product and construction (keychain? sticker? single or double layer?)
- File — any state, but say which state it’s in
- Final size, if you know it
- Quantity — ideally at three points (e.g. 100 / 300 / 500)
- Number of designs, and pieces per design
- Destination country
- Deadline, with context
- Finish ideas or a reference product, if you have them
The reasoning behind each line is in what to send a supplier for an accurate quote. If you’d rather check your readiness interactively, the artwork readiness checklist turns the list into a copy-paste summary you can paste into any enquiry — ours or anyone’s.
Where each product adds its own question
Some products have one artwork decision that matters more than the rest:
- Acrylic keychains — what stays opaque on a clear base: keychain options and white ink
- Stickers — the cut path and where the sticker will live: sticker options
- Fridge magnets — what it has to hold (construction, not artwork): magnet strength
- Badges — decide the size before finalizing artwork: badge sizes and backs
- Sticky notes — where the print actually goes: sticky note print areas
Ready when you are: send the file you have. Rough is genuinely fine — the process is designed to find what needs fixing before it costs you anything.
Alex founded OFFPRESS after years working around physical-product businesses and buying and selling custom merchandise. Pages attributed to Alex are grounded in that first-hand experience — nothing here is invented to fill a content calendar.
RELATED PRODUCTS
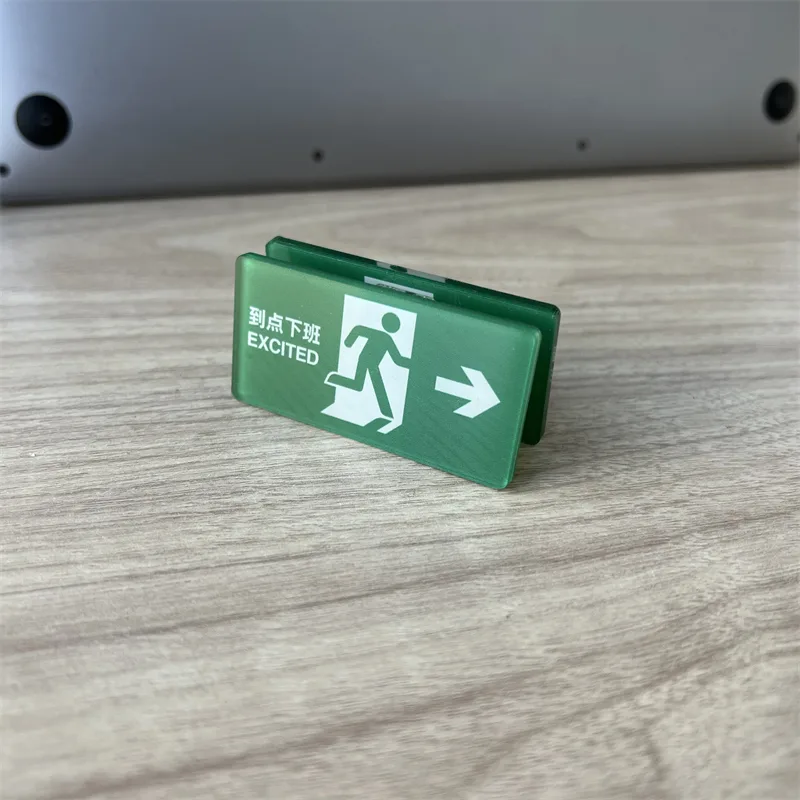
Acrylic Keychains
Cast acrylic, UV printed, cut to your outline. Epoxy, holographic or flat — your call.
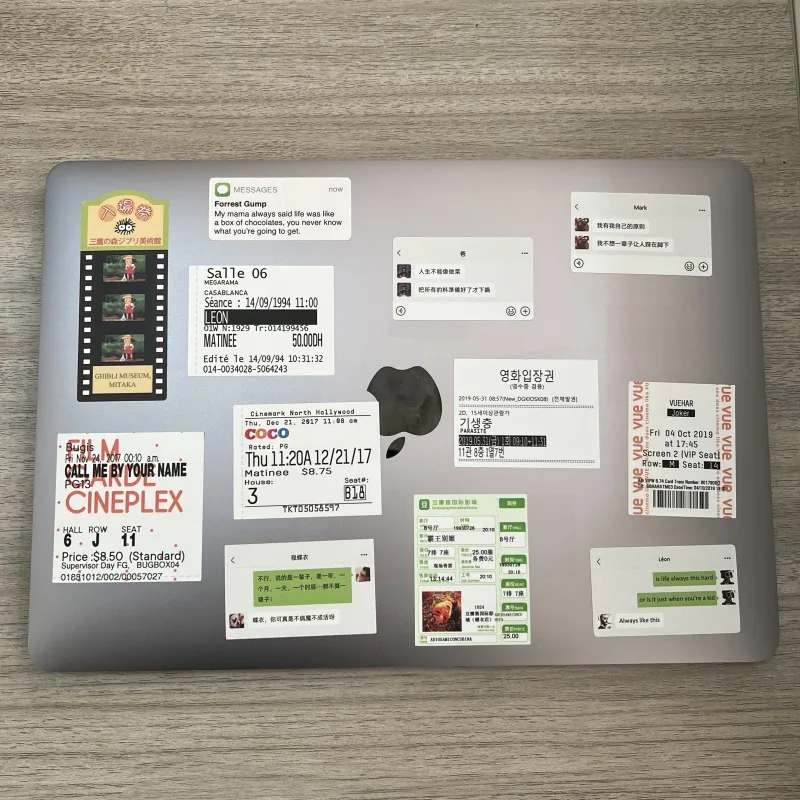
Stickers
Die-cut to your outline or kiss-cut on a sheet. Gloss, matte, holographic or clear.
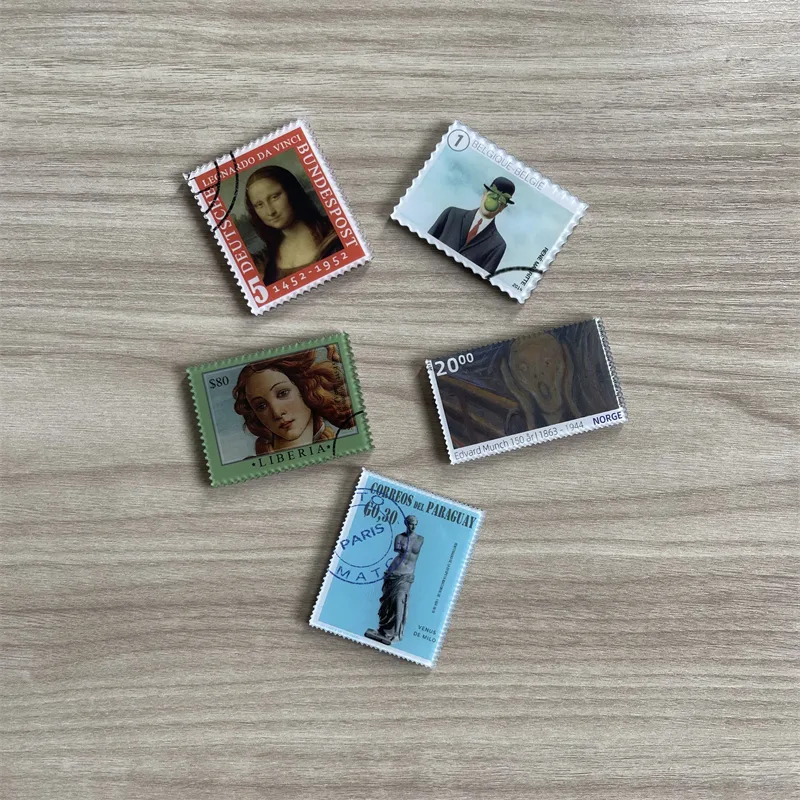
Fridge Magnets
The same artwork, a different object on the shelf. Printed, domed and backed to hold what you need it to hold.
Badges & Pins
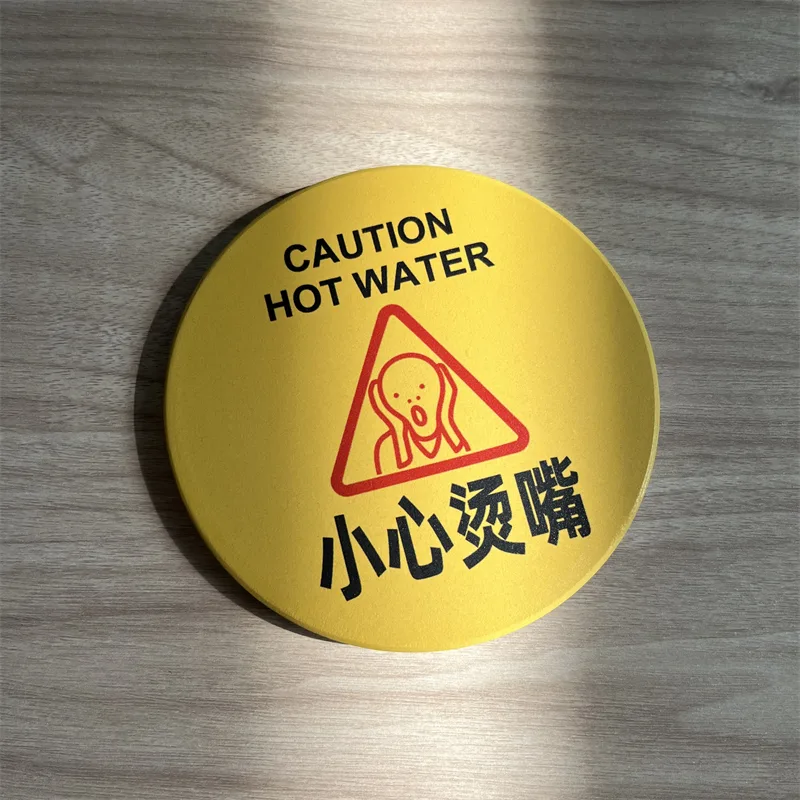
Pin-back badges pressed to size. Loud artwork, low unit cost, easy to add to any order.
Sticky Notes
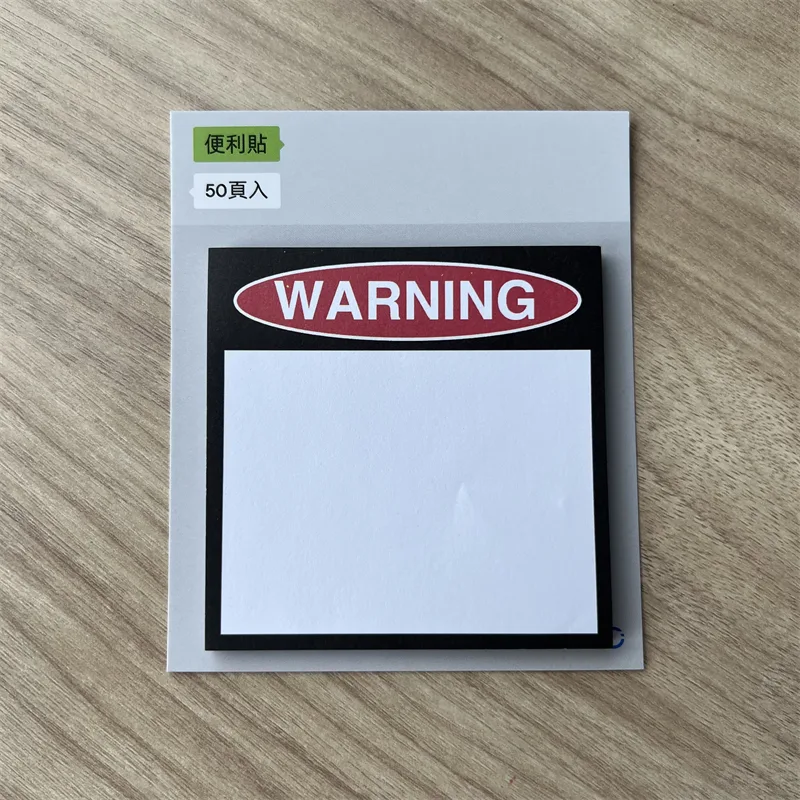
Repositionable pads with your artwork on the cover, the edge, or every single sheet.
KEEP READING