
Artist alley & merch table display checklist
A practical checklist for running a half or full convention table: zone the surface, show small hard goods clearly, restock solo, and pack down without damage.
OFFPRESS editorial · Researched against external sources · Stage: First order · 23 Sept 2026
You are not decorating a mood board. You are running a portable shop on a borrowed rectangle of table for one or two days.
This checklist is for independent artists and creators who sell small printed merch—acrylic charms, pins, magnets, stickers, sticky pads—at artist alley, anime and comic conventions, or art markets. It is written for solo or near-solo sellers with limited car or luggage space.
The question it answers:
How do I make small merch easy to see, buy, restock, and pack down within a limited convention table?
Half table and full table are different jobs. A half table is a density puzzle: every centimetre of surface and height is contested. A full table (often sold as a standard exhibitor footprint—commonly around 6 ft / 180 cm in US halls) gives you room for a second zone or a guest-side layout. Actual table width, depth, and display height limits are set by each show. Treat any number you read online as an example from that organiser’s handbook, not as an industry standard.
If you want pretty table photos, search for “table setup ideas.” If you want a system you can run alone with two bags of stock, keep reading.
1. Before the event: measure and confirm (about 30 minutes)
Do this before you buy another acrylic riser.
| Check | Why | Decision rule |
|---|---|---|
| Table format (half vs full; depth) | Half tables punish wide layouts | Measure at load-in if the organiser only says “table provided” |
| Height and banner rules | Halls often cap risers, banners, or back walls | Read that show’s exhibitor handbook and keep a screenshot. If a handbook is silent on a point, ask staff before you build |
| Product mix counts | Drives how much surface you need | Count SKUs that must stay visible vs SKUs that can live under the table |
| Price list | Price visibility is a sales tool | One printed price card per zone (see §4) |
On numbers in handbooks: some US anime and comic conventions publish exhibitor manuals with table sizes and pipe-and-drape height caps (for example, Anime Expo and San Diego Comic-Con publish exhibitor handbooks each season—see Sources). Those limits change by year and by hall. Quote the handbook you actually used, with its date. If you cannot verify a figure, use the decision rule above instead of a universal claim.
2. Table zoning: eye, hand, counter
Split the table into three depths (adjust to your table depth):
[ BACK — vertical / risers ]
[ MIDDLE — main browse surface ]
[ FRONT — price + impulse + checkout reach ]| Zone | What belongs | Goal |
|---|---|---|
| Back (vertical) | Banners, taller acrylic stands, hanging charms on a grid or stand | Catch the aisle without blocking your face |
| Middle (browse) | Primary formats in rows or trays; open one sample of each type | Touchable; clear “this is for sale” |
| Front (counter) | Price cards, a few impulse items, payment QR, business cards | Reduce “how much?” interruptions |
Customer reach and visual blocking
- Keep a conversation gap at standing height; a full-width wall of risers can hide you from the aisle.
- Front-row items should be grab-able without reaching over fragile acrylic.
- With two staff, a lower centre often helps; with one, bias stock and restock access to your dominant side.
Vertical vs horizontal (typical starting point—adjust to your stock)
| Format | Often works better | Why |
|---|---|---|
| Acrylic charms / keychains | Vertical (hang or stand) | Edges and print can read better upright; less pile-up |
| Pins | Vertical board or card strip | Many small SKUs in little space |
| Magnets | Horizontal tray or shallow riser | Easy to pick up and re-stack |
| Stickers / sheets | Horizontal stacks + one open sample | Show the sheet, not only the wrapper |
| Sticky pads | Flat with a lifted front edge | Sheet count and print area are the sale |
3. Format × display matrix (small hard goods)
Use this as a decision table, not a shopping list. Hardware brands are not the point.
| Merch | Display move | Price visibility | Restock note | Pack risk |
|---|---|---|---|---|
| Acrylic charms | Hang on a grid/stand or slot into a clear stand | Hang tag or zone price card | Keep overflow in a labelled pouch under the table | Faces can scratch if stacked bare; sleeves or soft dividers help |
| Pins / badges | Pin board, card strips, or shallow trays | Per card or tiered price board | Re-fill from cards rather than loose bags | Metal on metal can scratch; separate |
| Magnets | Shallow trays or flat risers | Zone card | Stack by design in small boxes | Face scratches; film or tissue between layers |
| Stickers | Fan stacks + one peeled sample per design | Per design or multi-buy board | Keep backs clean | Corners bend in open air |
| Sticky pads / memos | Flat, front edge lifted | Per pad card | Avoid burying under charms | Soft corners crush in a tight bin |
Display hardware (risers, cubes, panels, trays) is usually sourced separately from the merch itself. Choose for pack volume and breakage as well as looks. Acrylic risers often need corner protection in transit.
4. Price visibility (without clutter)
| Pattern | When it tends to help |
|---|---|
| Per-item hang tags | Few SKUs, higher unit price |
| Zone price board | Many SKUs in the same price band |
| Tiered board | Volume offers (“3 for …”) |
| QR + short menu | You also take custom orders or sell online |
Working habits many sellers use (not laboratory-tested sightlines):
- Put price where it can be read before the buyer has to ask.
- Keep one payment QR at the front edge; do not bury it under stock.
- If the same price question repeats, the sign may be the problem.
5. Under-table inventory and solo restocking
Example under-table map (adapt to your bins):
[ BIN A: top sellers by design ] [ BIN B: second tier ]
[ packing sleeves / bags ] [ cash belt · tape · markers · backup QR ]| Practice | Why it helps |
|---|---|
| Label bins by SKU | Restock stays fast under pressure |
| Keep one open display set + sealed overflow | Display stays full; overflow stays clean |
| Restock on a rhythm (timer or every few sales) | Avoids a half-empty table at peak hours |
| Soft sleeves on hand | Protects acrylic while re-hanging |
Solo rule of thumb: if restocking means walking away and leaving the table unattended, rethink the under-table layout.
6. Scratch, edge, and transport protection
Small hard goods are often damaged in bags of bags, not on the table.
| Risk | What sellers usually do |
|---|---|
| Face scratches (charms, magnets, acrylic stands) | Individual sleeves or tissue; avoid bare-face stacking |
| Edge chips | Corner protectors on stands/panels; avoid dropping bins on corners |
| Bent stickers / paper | Flat boxes or stiffeners; avoid soft side pockets |
| Metal against acrylic | Separate compartments |
This is not the same as shipping packaging to customers. For outbound parcels, see how to package custom merch. Show-day packing is about your hands, time, and vehicle.
7. Load-in → selling → load-out
| Phase | Sequence many sellers use |
|---|---|
| Load-in | Table check → height rules → display skeleton → price boards → primary stock → samples → payment |
| Open | Walk the aisle sightline; fix blocking; confirm prices read from standing distance |
| Mid-day restock | Bins under table; refill fronts first |
| Slow hours | Tidy rows; test QR; adjust one zone at a time |
| Load-out | Soft-pack acrylic first → bins → flat goods → last: cash and devices |
Compact packing checklist
- Soft sleeves or tissue for acrylic faces
- Corner protectors on stands and panels
- Bins labelled by SKU
- Flat rigid box for stickers / paper
- Tape, spare price cards, marker
- Payment backup (card + QR print)
- Business cards / custom-order card
8. Printable one-page checklist
Before the show
- Confirm table format (half or full) and depth
- Read that show’s handbook for height and banner rules
- Count visible SKUs vs under-table stock
- Print price boards and backup QR
- Soft-pack acrylic; corner-protect stands
Table build
- Back: vertical display without a full-width wall
- Middle: primary formats + one open sample each
- Front: prices, impulse, payment
- Sightline clear from the aisle
Selling day
- Restock fronts on a rhythm
- Price readable without asking
- Under-table bins stay labelled
Pack down
- Acrylic and stands first (soft + corners)
- Flat goods rigid
- Cash and devices last
- Count bins before you leave the hall
9. Need stock that survives the table?
Display is only half the problem. If you are still building the merch itself—charms, pins, magnets, stickers, sticky pads, or backing cards—tell us what you sell and what table you run.
Send your product mix + table format (half or full) + event date for a production and pack plan quote. We will reply with what we can make and what stays sample-dependent—no invented MOQs.
Related: backing card vs header card · how to package custom merch · plan quantities across designs · what to send for an accurate quote
Sources and limits
- Venue rules: use each show’s official exhibitor handbook. Example publishers: Anime Expo exhibitor handbook; San Diego Comic-Con exhibitor materials (see Sources in frontmatter—verify the current season’s PDF before quoting numbers). Table sizes and height caps vary by venue and year.
- Display practice in this note is operational decision logic for solo sellers, not laboratory-tested ergonomics.
- OFFPRESS does not publish display-hardware MOQ, prices, or load ratings here; those are quote-specific.
Researched and written by the OFFPRESS editorial desk. General production principles are kept separate from order-specific figures — anything that depends on your job (lead time, sample cost, freight) is marked as confirmed with your quote, not stated as a blanket promise.
SOURCES & FURTHER READING
RELATED PRODUCTS
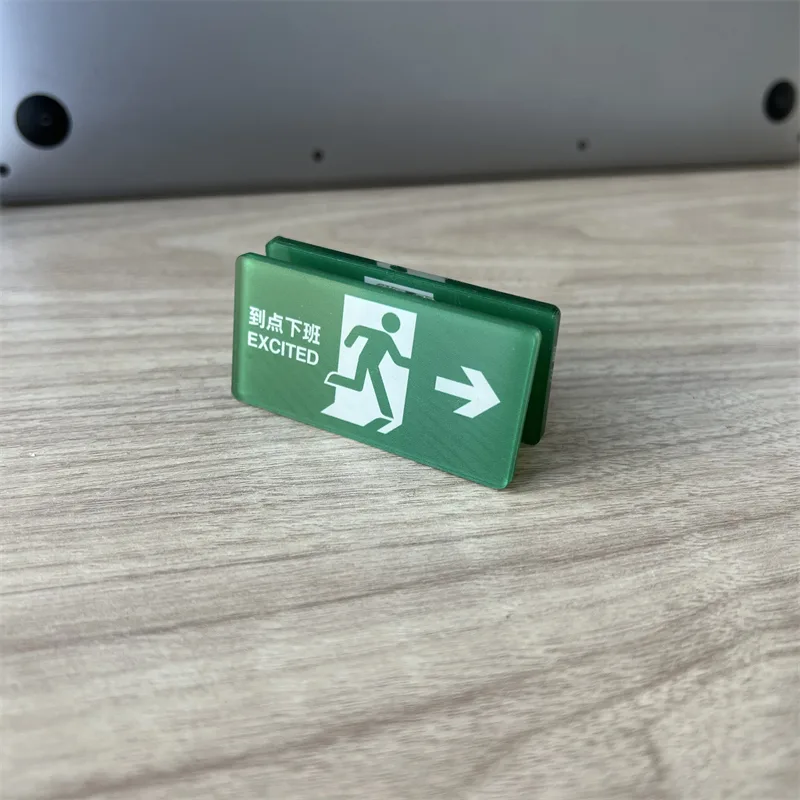
Acrylic Keychains
Cast acrylic, UV printed, cut to your outline. Epoxy, holographic or flat — your call.
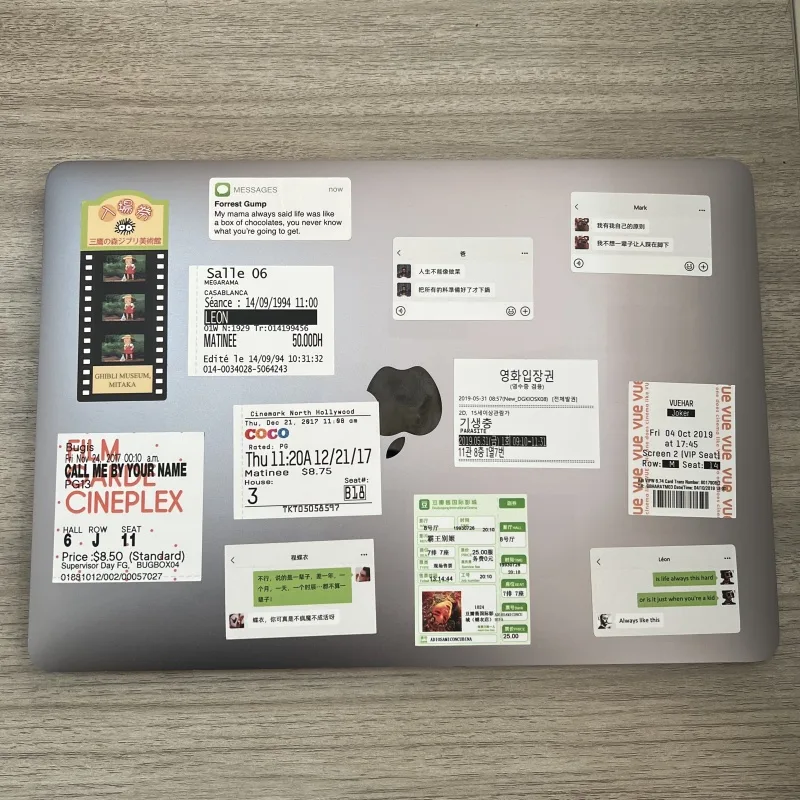
Stickers
Die-cut to your outline or kiss-cut on a sheet. Gloss, matte, holographic or clear.
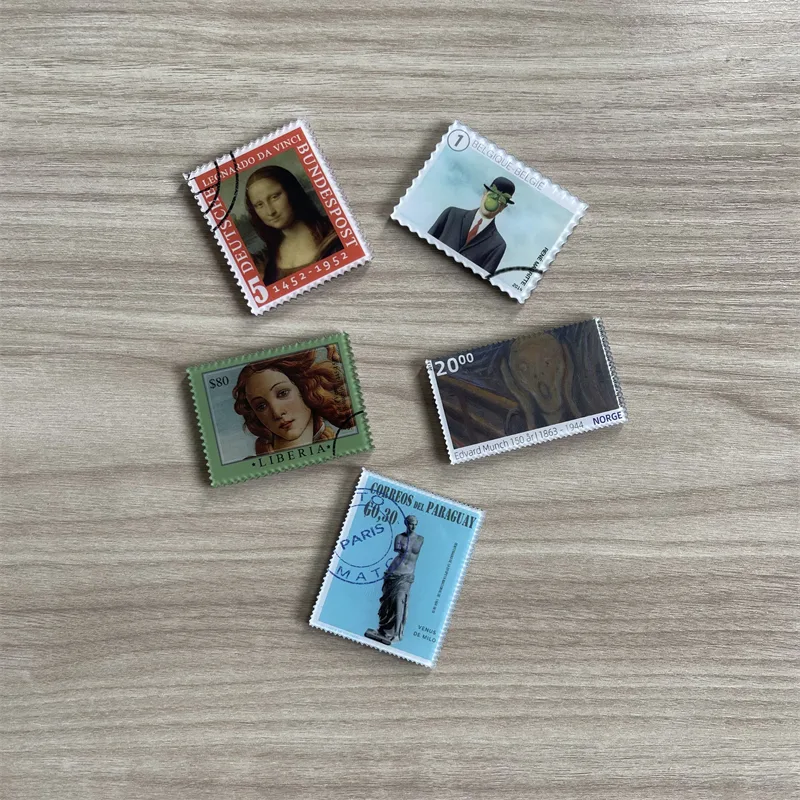
Fridge Magnets
The same artwork, a different object on the shelf. Printed, domed and backed to hold what you need it to hold.
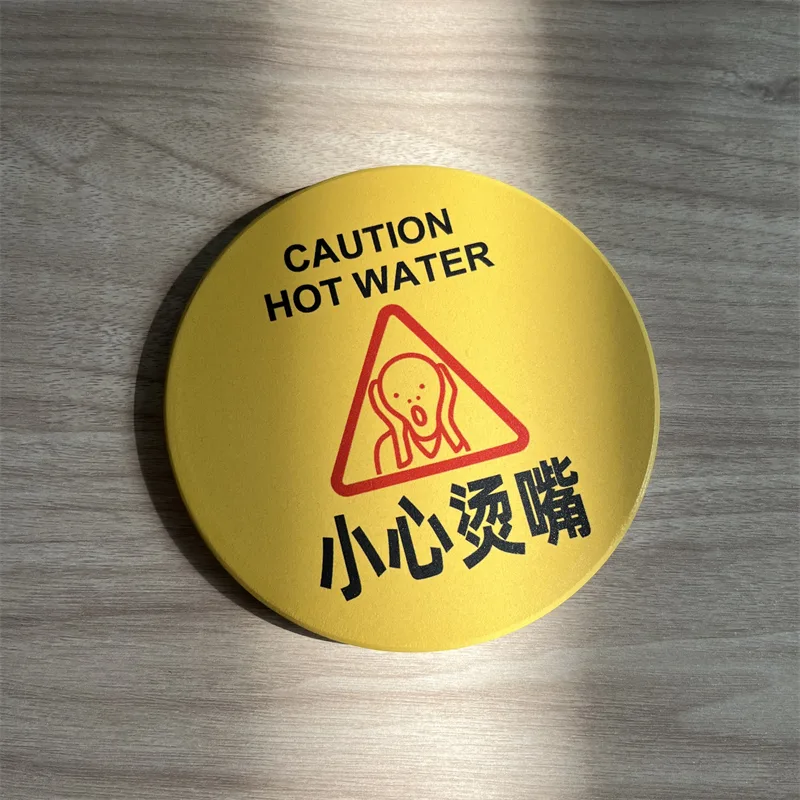
Badges & Pins
Pin-back badges pressed to size. Loud artwork, low unit cost, easy to add to any order.
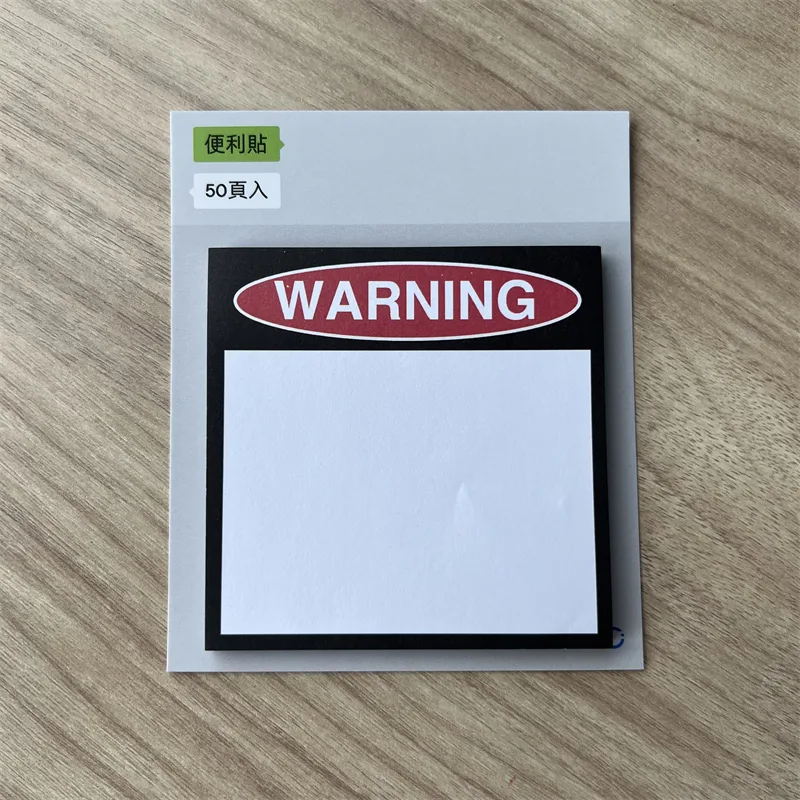
Sticky Notes
Repositionable pads with your artwork on the cover, the edge, or every single sheet.
KEEP READING