
Cut lines, bleed and safe area: the three margins of die-cut merch
What cut lines, bleed and safe area actually do, how conventions differ between printers (they really do), and the one thing that matters more than any line width.
OFFPRESS editorial · Researched against external sources · Stage: Preparing artwork · 2 Sept 2026
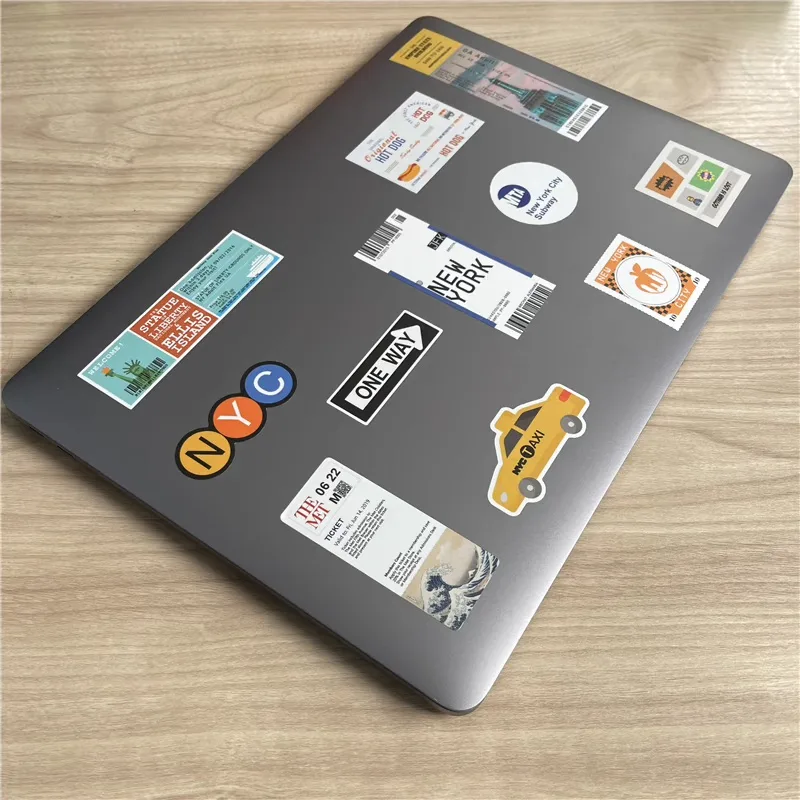
Die-cut means the machine cuts around your artwork’s outline instead of trimming a straight edge. That freedom is why custom stickers and acrylic charms look the way they do — and it introduces three margins you need to understand: the cut line, the bleed, and the safe area. Get the relationships between them right and your design survives production exactly as drawn.
The three margins
        ┌── safe area (keep text inside this) ──┐
        │   ┌── cut line (where the blade goes) ─┐   │
        │   │        ┌── bleed (art extends past) ┐   │  │
│ │ │ your visible design │ │ │- Cut line: the vector path the cutter follows — your product’s actual outline.
- Bleed: artwork extending beyond the cut line. Cutting has tolerance; without bleed, a millimetre of drift leaves an unprinted white sliver at the edge.
- Safe area: the zone inside the cut line where text and critical details stay. Same tolerance, other direction — anything too close to the cut can be clipped.
What’s universal vs vendor-specific
Here’s the part most articles blur: the concepts are universal, the numbers are not. Print-industry convention for bleed is around 3 mm (⅛”), and that’s a reasonable default for general print — but published merch specs vary widely:
| Vendor | Published spec (at time of writing) |
|---|---|
| General print convention | ~3 mm (0.125”) bleed |
| Sticker Mule (die-cut stickers) | 1/16” (≈1.6 mm) minimum bleed |
| StickerApp | ~2 mm per sticker |
| Vograce (acrylic charms) | 0.5 mm bleed edge; thin white lines must exceed 0.5 mm to survive |
So the same artwork file can be fully compliant at one supplier and out of spec at the next. The vendor’s published spec always wins at order time — which is why any honest artwork guide, including this one, should end numbers with “confirmed on your supplier’s spec sheet.” Ours do exactly that: at OFFPRESS, the exact bleed and safe-area figures for your order are part of the written spec you approve, not a marketing-page constant.
The cut line: it’s about the colour, not the width
The professional convention for supplying a cut path is a hairline, stroke-only path designated as a spot colour — often 100% magenta, named things like “DieCut”, “CutContour” or “Dieline” depending on whose software is reading it. The spot-colour designation is what matters: cutting software reads it as a separate layer, not as artwork to print. The visible stroke width is largely cosmetic; no universal “correct” stroke width exists despite what forum arguments suggest.
Two practical notes:
- If drawing cut paths isn’t your thing, many suppliers generate them — some sticker vendors scan and build the outline automatically, and several acrylic manufacturers have their designers create the cut path and hole placement for you. What they’ll need from you is clean artwork with clear space around the design.
- Complex outlines cost more than simple ones everywhere (tooling and cut time), and intricate thin protrusions are the first thing to break in hand. A design with a few generous lobes cuts cleaner, faster and cheaper than one with five fragile whiskers.
A 5-minute pre-flight for die-cut artwork
- Artwork extends past the intended outline on every side (bleed exists).
- No text or critical detail within the safe margin inside the outline.
- Thin lines are sturdy at production size — sub-millimetre lines risk dropping out in cutting or printing.
- If supplying a cut path: stroke-only, own layer, spot colour, named.
- If not supplying one: tell your supplier — most will prepare it and mark hole/hardware positions with you.
Where this meets real pieces
The perforated stamp outlines in our magnet gallery and the street-sign shapes in the keychain gallery are die-cut outlines doing exactly this job — artwork bleeding past a custom cut path, text held inside the safe area. When your file follows the same logic, the outline is nobody’s compromise; it’s part of the design.
Researched and written by the OFFPRESS editorial desk. General production principles are kept separate from order-specific figures — anything that depends on your job (lead time, sample cost, freight) is marked as confirmed with your quote, not stated as a blanket promise.
RELATED PRODUCTS
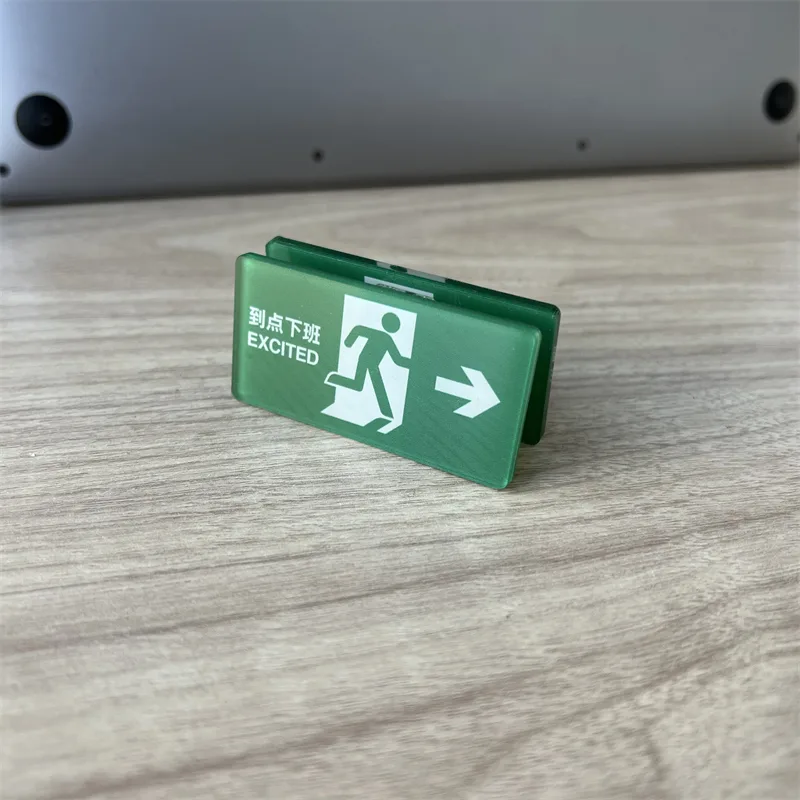
Acrylic Keychains
Cast acrylic, UV printed, cut to your outline. Epoxy, holographic or flat — your call.
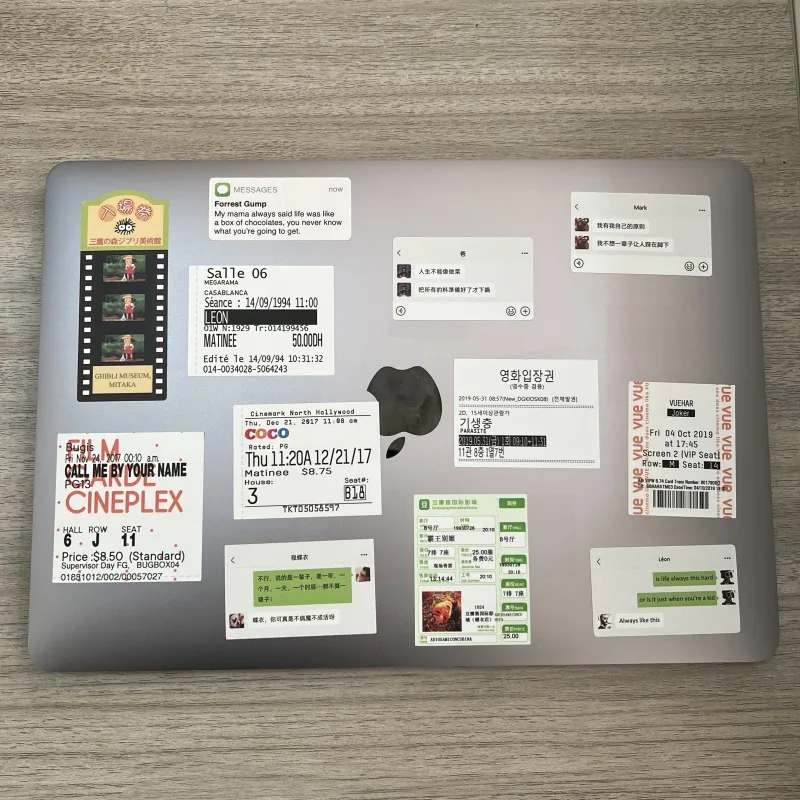
Stickers
Die-cut to your outline or kiss-cut on a sheet. Gloss, matte, holographic or clear.
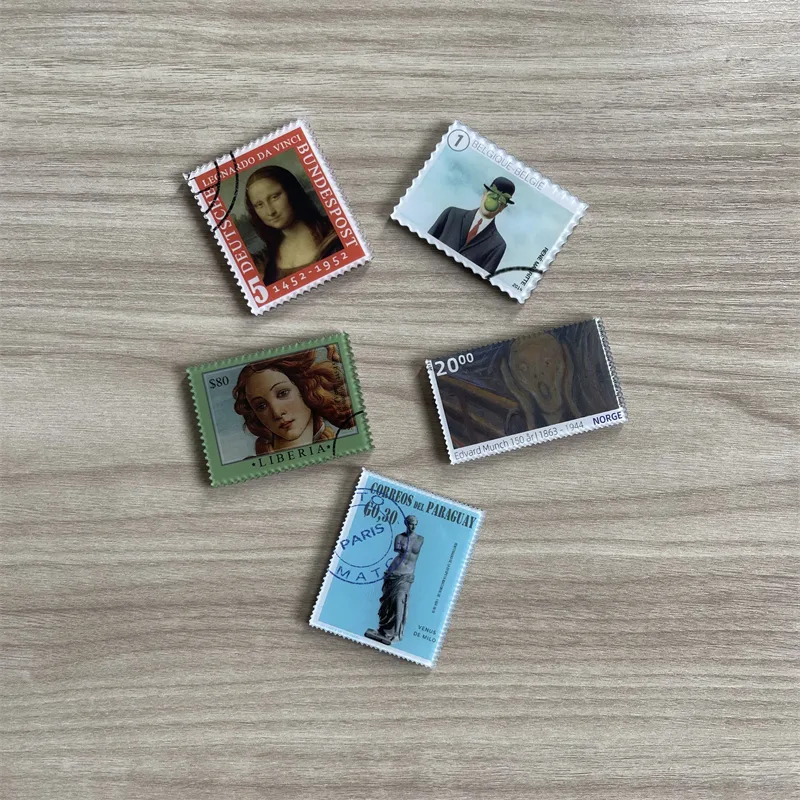
Fridge Magnets
The same artwork, a different object on the shelf. Printed, domed and backed to hold what you need it to hold.
KEEP READING