
How to approve a custom merch sample — and what a sample can't prove
The sample is the gate before production: set your acceptance criteria before it arrives, check against them in the right order, use-test the piece where it will live — and know exactly which questions a sample of one does not answer.
OFFPRESS editorial · Based on direct observation of real pieces · Stage: First order · 2 Sept 2026
A sample is not a luxury — it’s the last cheap moment to catch a mistake. But most sample checks are done backwards: the order arrives, people stare at it on the desk, and approve the colour they like. A sample approves a spec, not your mood.
The short answer: decide the acceptance criteria before the sample exists, check them in a fixed order, and write the verdict down. The sample proves what that one piece is — it does not prove the batch, the next batch, or the journey in the box.
1. Write the criteria before the piece arrives
The sample can only be approved against something. Take the spec sheet you asked for and turn each line into a pass/fail question — with the answer you’re willing to accept, chosen in advance, not after the fact:
| Line on your spec | Check | Acceptable range (example) |
|---|---|---|
| Size | Ruler/caliper vs. stated dimension | Within ~1 mm on a 50 mm piece (what you set, not what they guess) |
| Material & thickness | Measure; feel; edge inspection | State the tolerance before it arrives |
| Finish (flat / dome / effect) | Look at 45° under steady light | The effect reads as ordered; no stripes or soft spots |
| Colour | Print vs. your reference, in daylight | Accept the system shift, reject unwanted shifts (see note below) |
| Hardware / back | Physically attach and remove it | It fastens as intended, and survives being used once |
| Artwork detail | At use distance, not in zoom | Smallest text and thinnest line still read |
The “example” column matters: if you don’t decide what’s acceptable, every deviation becomes a negotiation, and the sample approves nothing.
2. Check in this order — and why
Order is the point: cheap, structural checks first; judgement checks last. Measuring size before looking at colour keeps the decisions from blending.
- Geometry against spec. Size, thickness, cut accuracy. This is measurement, not taste — and it’s the easiest thing for a supplier to fix.
- Construction. Edges, dome coverage, print-to-edge fit, hardware seat, back mechanism. This is where the piece tells you it was made and not just printed.
- Print, under proper light. Steady daylight or a neutral lamp, straight-on and at 45°. Check colour against your reference and the smallest detail you asked for. Neon shifts are real; if your design lives in saturated colour, this is the check that matters (more on RGB vs CMYK).
- Transparency and underbase. Hold clear acrylic to the light. Where colour must be opaque, it should be; where it must be clear, it should be (white ink on clear bases).
- The use test — the step most checklists skip. The sample should work in the exact situation your product lives in: put the badge on the bag it will ride on, the magnet on the fridge door at the weight it must hold (what a magnet must hold), the keychain on the actual keyring, the sticker on the surface it will be stuck to. A sample that looks right on a desk and fails in use is a failed sample.
- Write the verdict. Book or email, one line: “approved as received,” “approved with change — dome deeper,” or “rejected — size off by 2 mm.” Passing a specified line — the size, the finish — protects you at the bulk stage; “looks good” protects nobody, including the supplier.
3. What a sample cannot prove
None of the following is answered by one approved piece, and no supplier’s sample should have to answer for them:
- The batch. A sample is one piece, usually the best one in the room. What you’re buying is pieces #40 and #400 — consistency across the run is a run question, answered at arrival with a first-run check and, if the supplier is new, a real one-SKU test. The honest expectation: the sample proves a representative piece, barely.
- The next batch. Months later, ink, calibration and skill can drift. That’s why the approved sample gets kept as the reference and the reorder gets checked against it — the reorder guide is about exactly this.
- Shipping. A sample survives a padded envelope; the run ships in bulk, and packaging is part of the agreement, not the sample. Agree packaging in writing and inspect on arrival.
- Long-term behaviour. A new dome can look perfect and still yellow over years; a magnet’s hold can change with the surface it’s stuck to. Choose materials for these reasons (ask which resin, confirm what it must hold) — no sample previews the future.
- Colour in every light. The sample proves the colour under your light. Expect the system shift, flag the rest.
In short: the sample is the strongest honest evidence before production — for the geometry, construction, print and use of one piece. Everything after that is a process question — the pre-shipment QC gate, checking the finished run against this sample and the spec sheet — and the process is what a written spec sheet and an arrival check are for.
Set your criteria before you ask for the sample: the spec sheet is what the sample gets checked against, and the quote form returns one in writing for every product.
Researched and written by the OFFPRESS editorial desk. General production principles are kept separate from order-specific figures — anything that depends on your job (lead time, sample cost, freight) is marked as confirmed with your quote, not stated as a blanket promise.
RELATED PRODUCTS
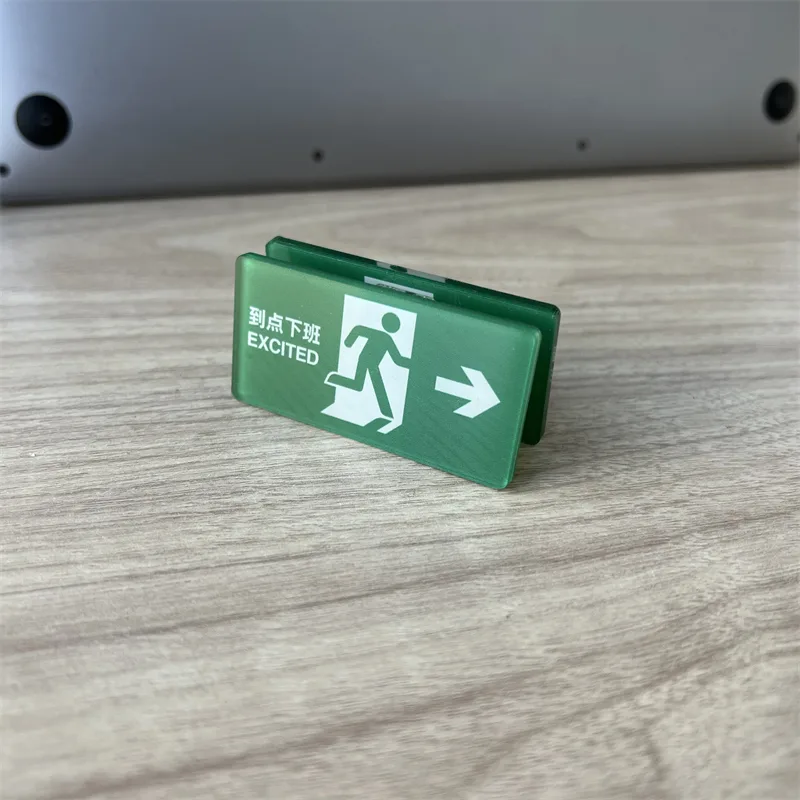
Acrylic Keychains
Cast acrylic, UV printed, cut to your outline. Epoxy, holographic or flat — your call.
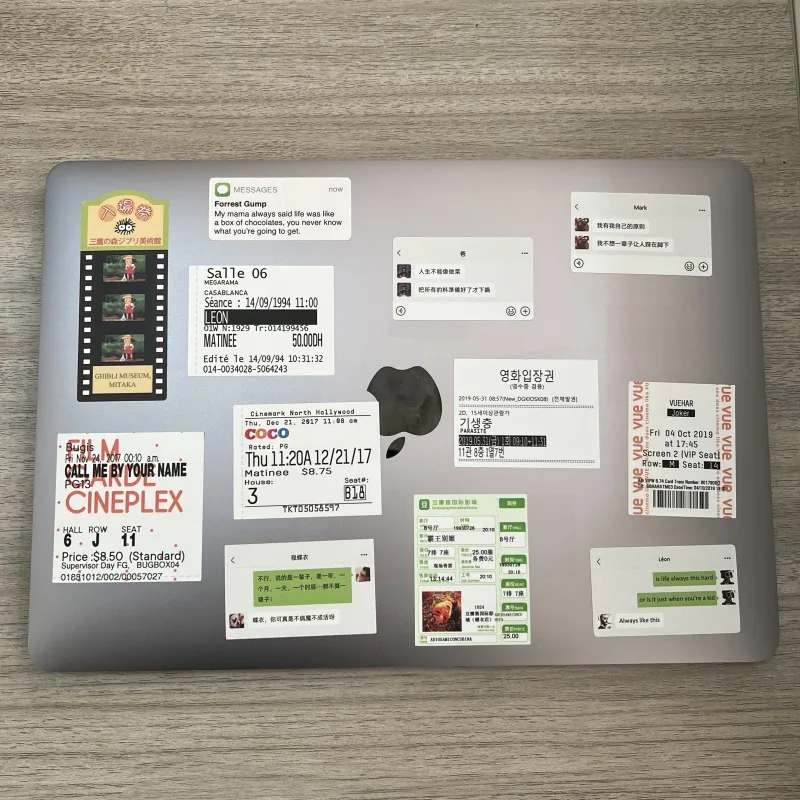
Stickers
Die-cut to your outline or kiss-cut on a sheet. Gloss, matte, holographic or clear.
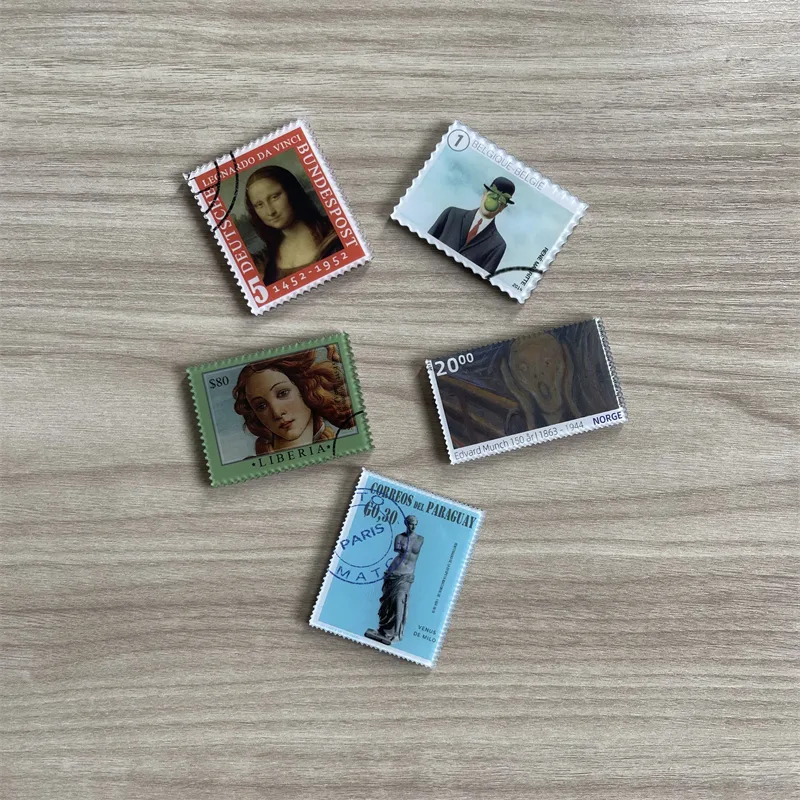
Fridge Magnets
The same artwork, a different object on the shelf. Printed, domed and backed to hold what you need it to hold.
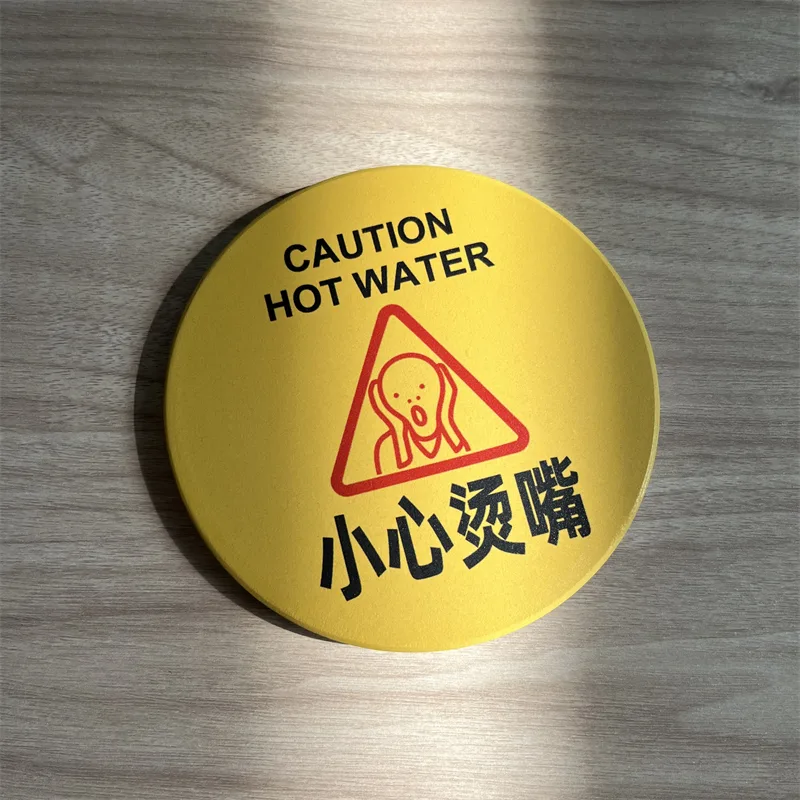
Badges & Pins
Pin-back badges pressed to size. Loud artwork, low unit cost, easy to add to any order.
KEEP READING